Free UI assets for Cocos Creator 3.x
Cocos Creator 3.x packs list the SpriteFrame Border values per asset, so you fill four fields and switch the Sprite to SLICED — no trial and error.
⚠ Setting the border on the SpriteFrame is not enough — the Sprite must be SLICED
In Cocos Creator the 9-slice borders live on the SpriteFrame asset, but they only take effect when the Sprite component that draws it has Type set to SLICED. Set the borders, then remember to switch the component type, or you will see the borders in the asset inspector and stretching on screen.
1. Import the PNGs
Drag the png/ folder into the assets panel. Cocos Creator generates an ImageAsset plus a SpriteFrame for each file.
For pixel-art packs, select the ImageAssets and set Filter Mode to Point on both min and mag filters.
2. Set the SpriteFrame borders
Select a SpriteFrame (the child node under the image asset, not the image asset itself). In the Inspector, fill Border Top / Bottom / Left / Right with the values from manifest.json.
Click Apply at the top of the Inspector. Cocos does not auto-save these — leaving the panel without applying silently discards them.
3. Draw them
Add a Sprite component, assign the SpriteFrame, and set Type to SLICED. Set Size Mode to CUSTOM so you can resize the node freely.
For buttons, use the Button component's Transition = SPRITE and assign the normal / hover / pressed / disabled frames from the pack.
4. Batch with an Auto Atlas
Right-click the pack folder → Create → Auto Atlas. Cocos will pack everything inside into one atlas at build time, which collapses the draw calls.
Keep the Auto Atlas in the same folder as the PNGs — it only packs its siblings.
5. Optional — use the included prefab
Each pack ships a Cocos Creator 3.x prefab with SpriteFrames already carrying the right borders. Drag it into a scene to see the assembled screen, then keep what you need.
FAQ
The prefab shows missing assets after import.
Cocos references assets by UUID. Import the whole engine/cocos folder together with the PNGs it points at, in one drag, rather than moving files afterwards.
Does this work in Cocos Creator 2.x?
The PNGs and border values do. The included prefab is 3.x format; for 2.x rebuild the node tree by hand — it is a few minutes of work for a screen.
Can I use these in a commercial Cocos game?
Yes. Free for commercial use, no attribution required. See the license page.
Packs with Cocos Creator 3.x files
-
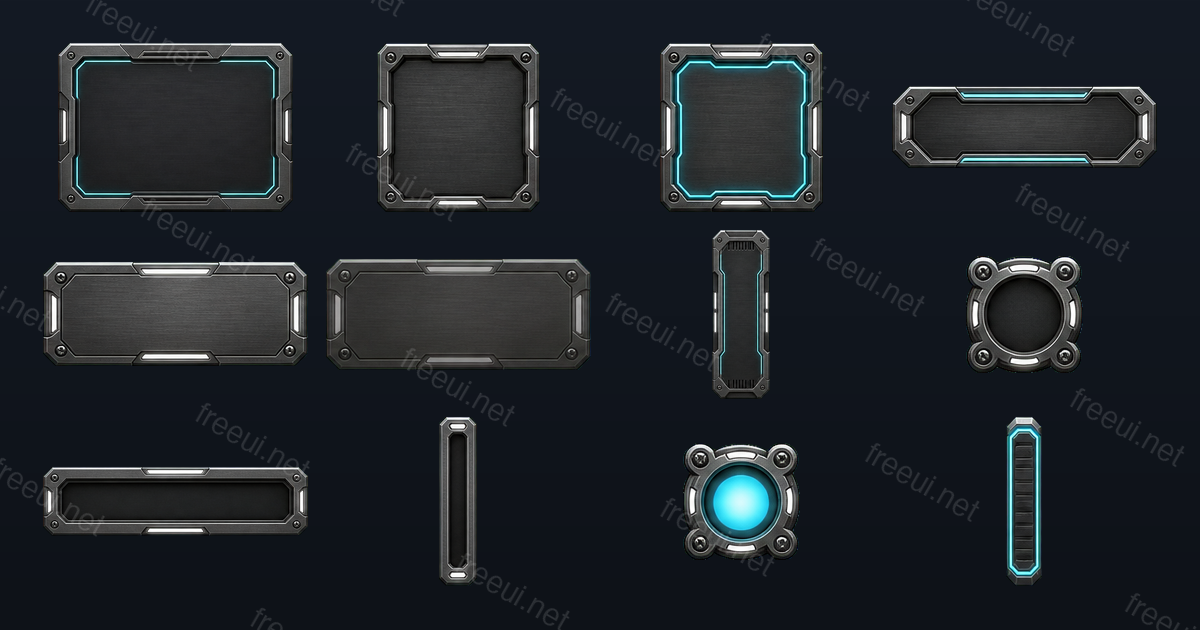 Sci-Fi Metal Panels 12 assets · Sci-Fi
 -
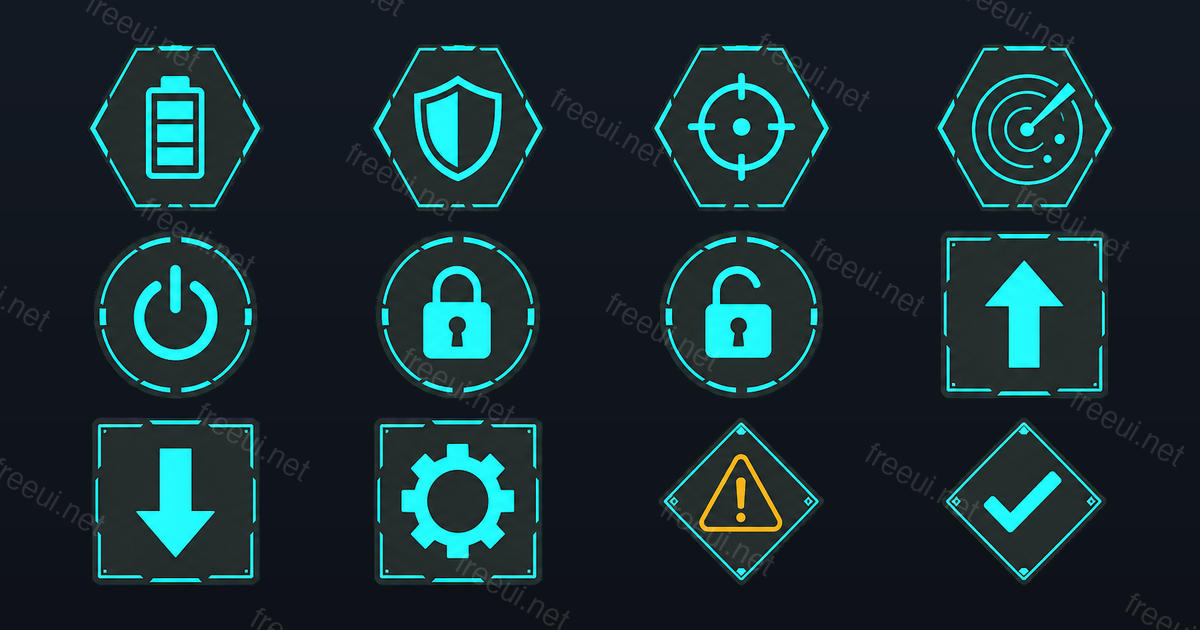 Sci-Fi Interface Icons 12 assets · Sci-Fi
 -
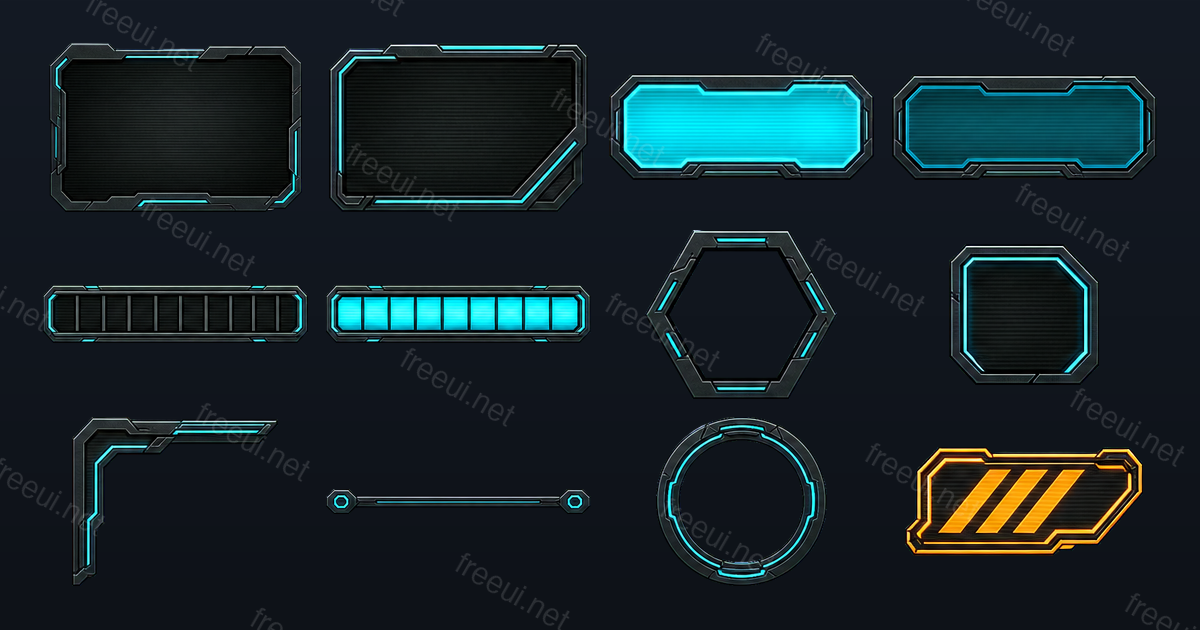 Sci-Fi HUD Frames 12 assets · Sci-Fi
 -
 Fantasy RPG Badges & Icons 12 assets · Fantasy RPG
 -
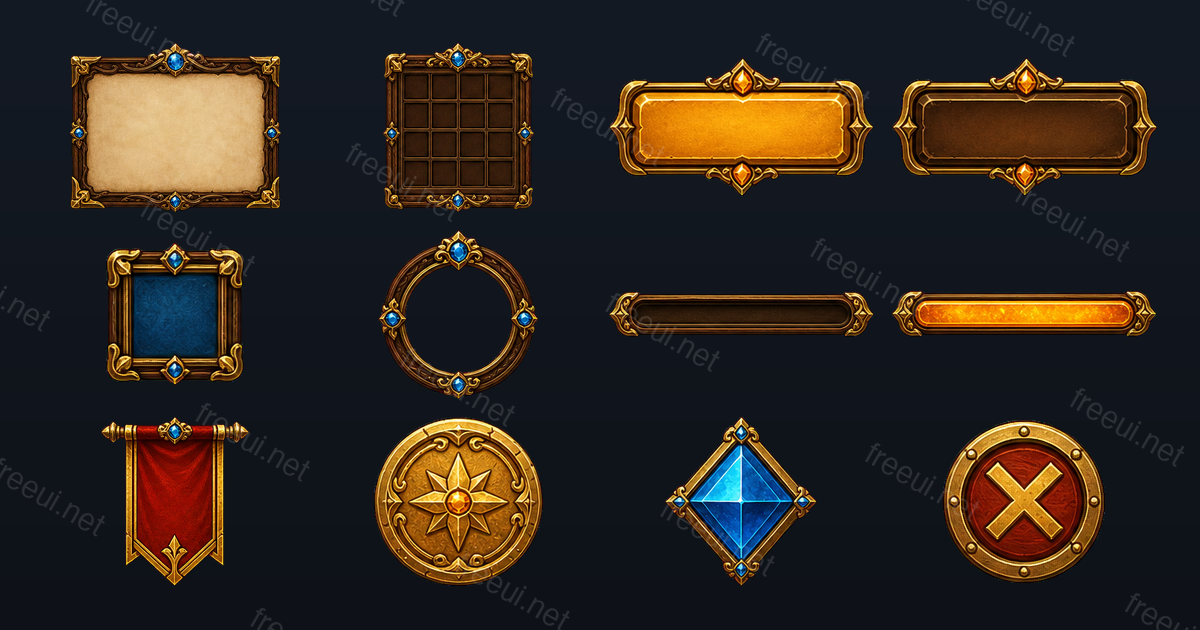 Fantasy RPG Frames & Panels 12 assets · Fantasy RPG
 -
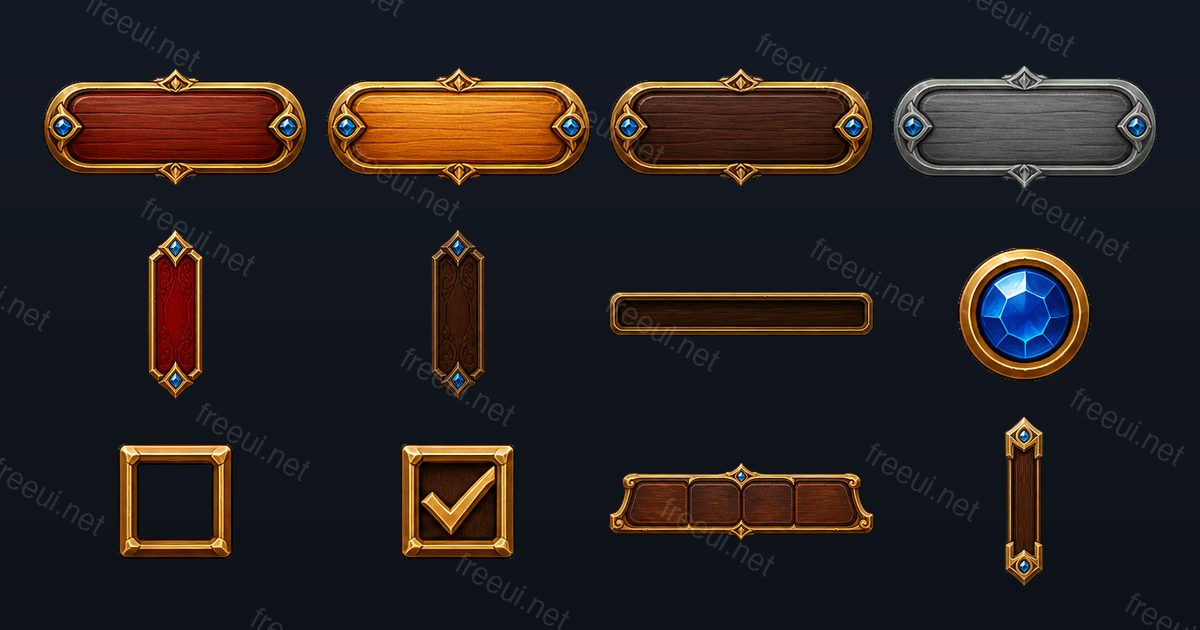 Fantasy RPG Buttons & Controls 12 assets · Fantasy RPG
 -
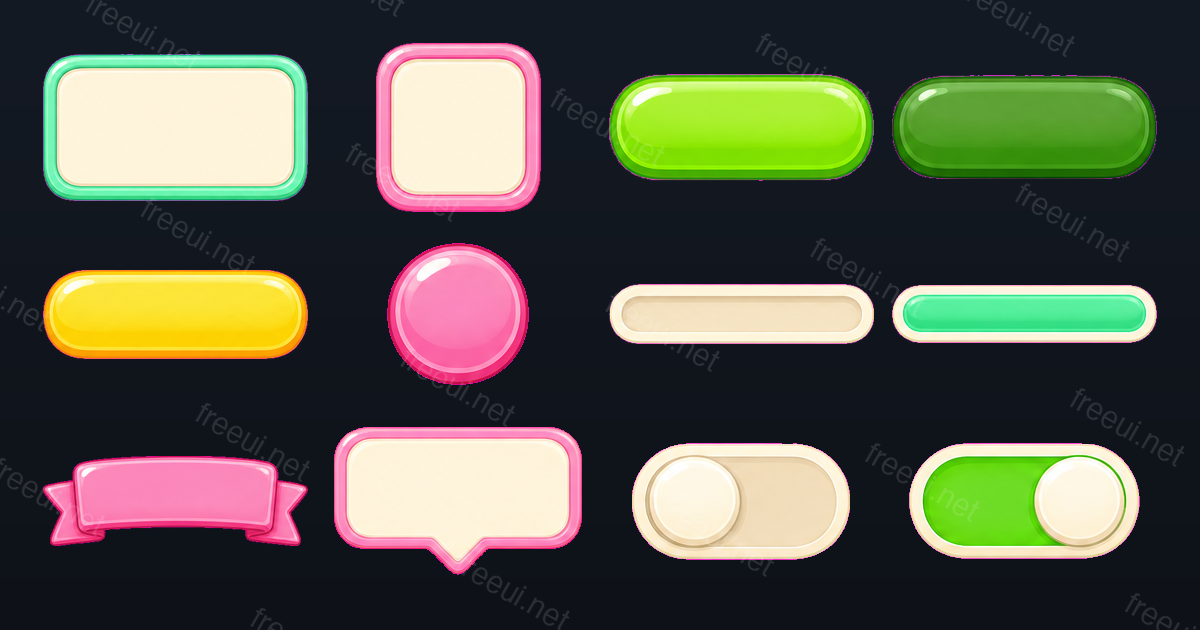 Candy Casual Panels & Bars 12 assets · Casual
 -
 Candy Casual Icons 12 assets · Casual
 -
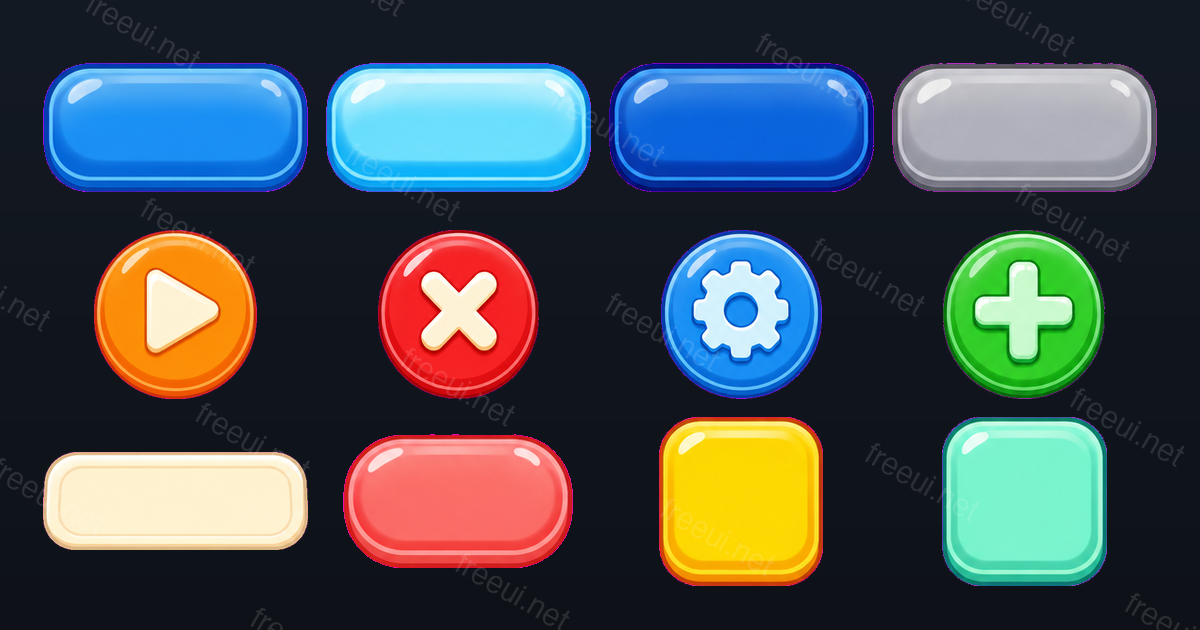 Candy Casual Buttons 12 assets · Casual
Want this output for your own art style?
Every pack here was produced by CozyUI — upload a screenshot or a mockup and get the same layered PNGs, measured 9-slice margins and Cocos Creator 3.x files built around your design.